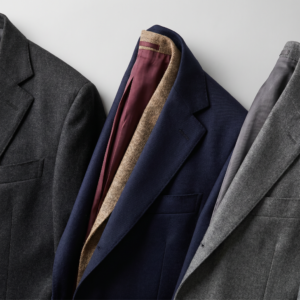
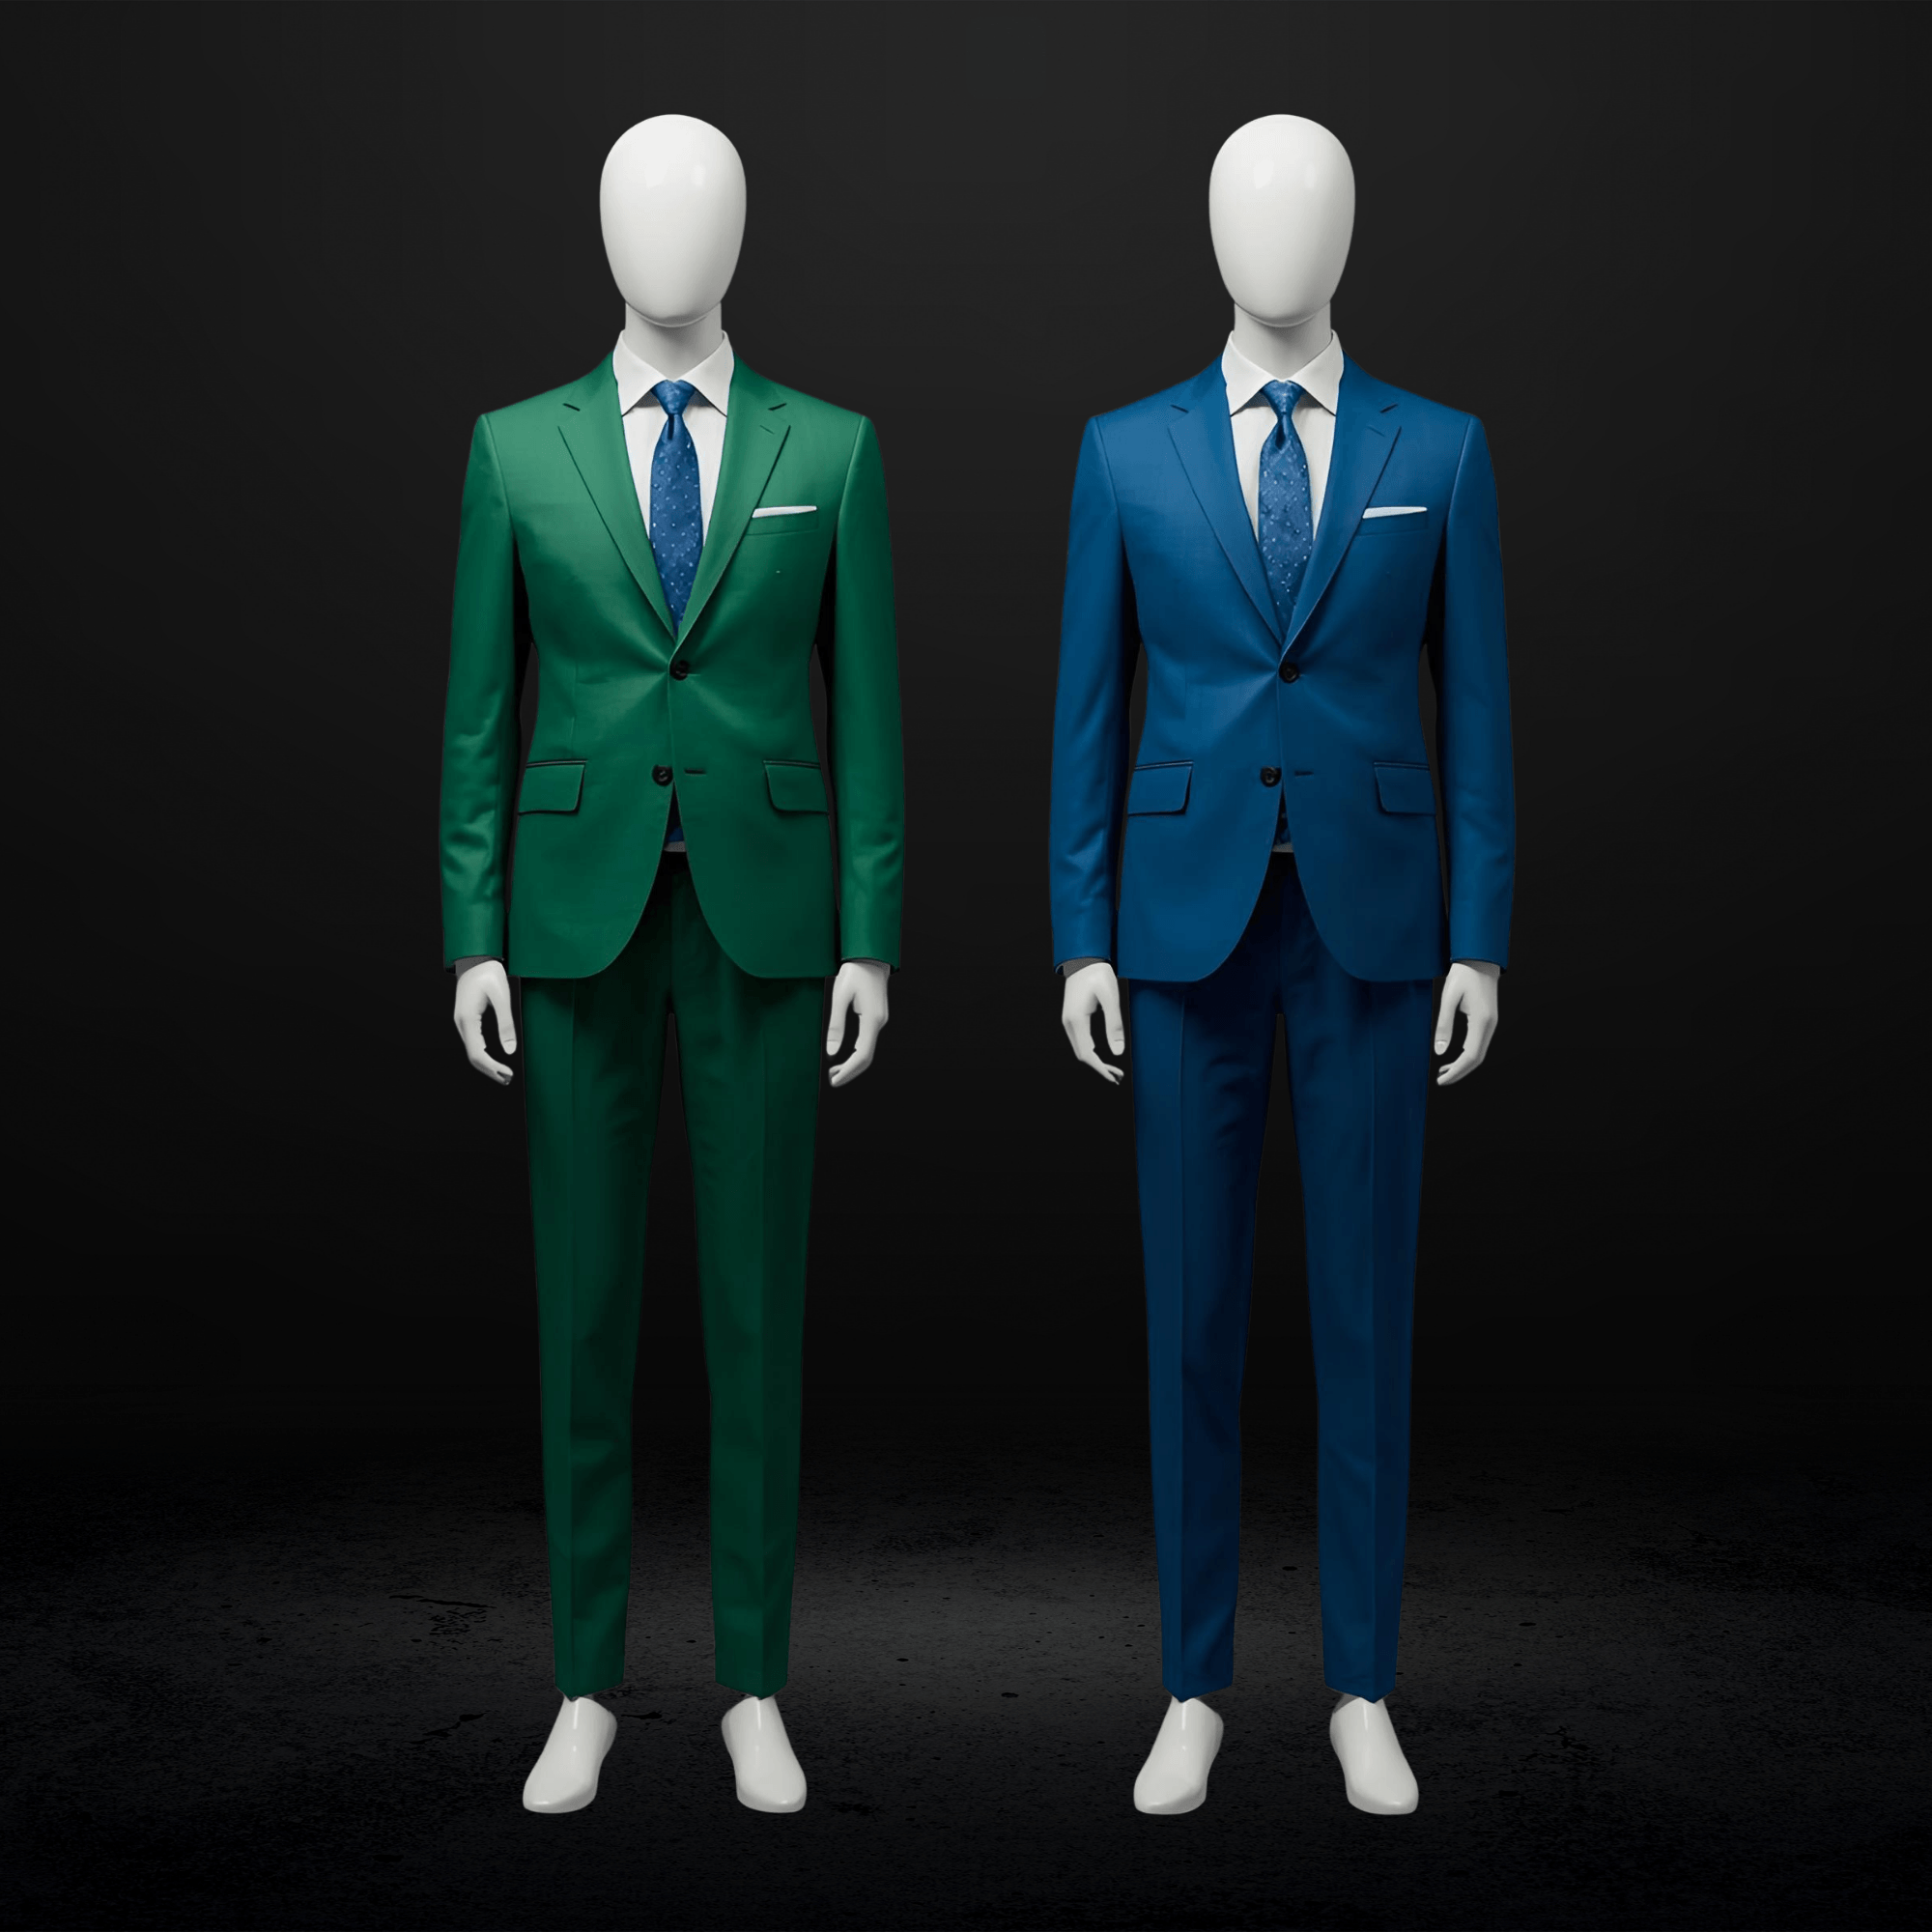
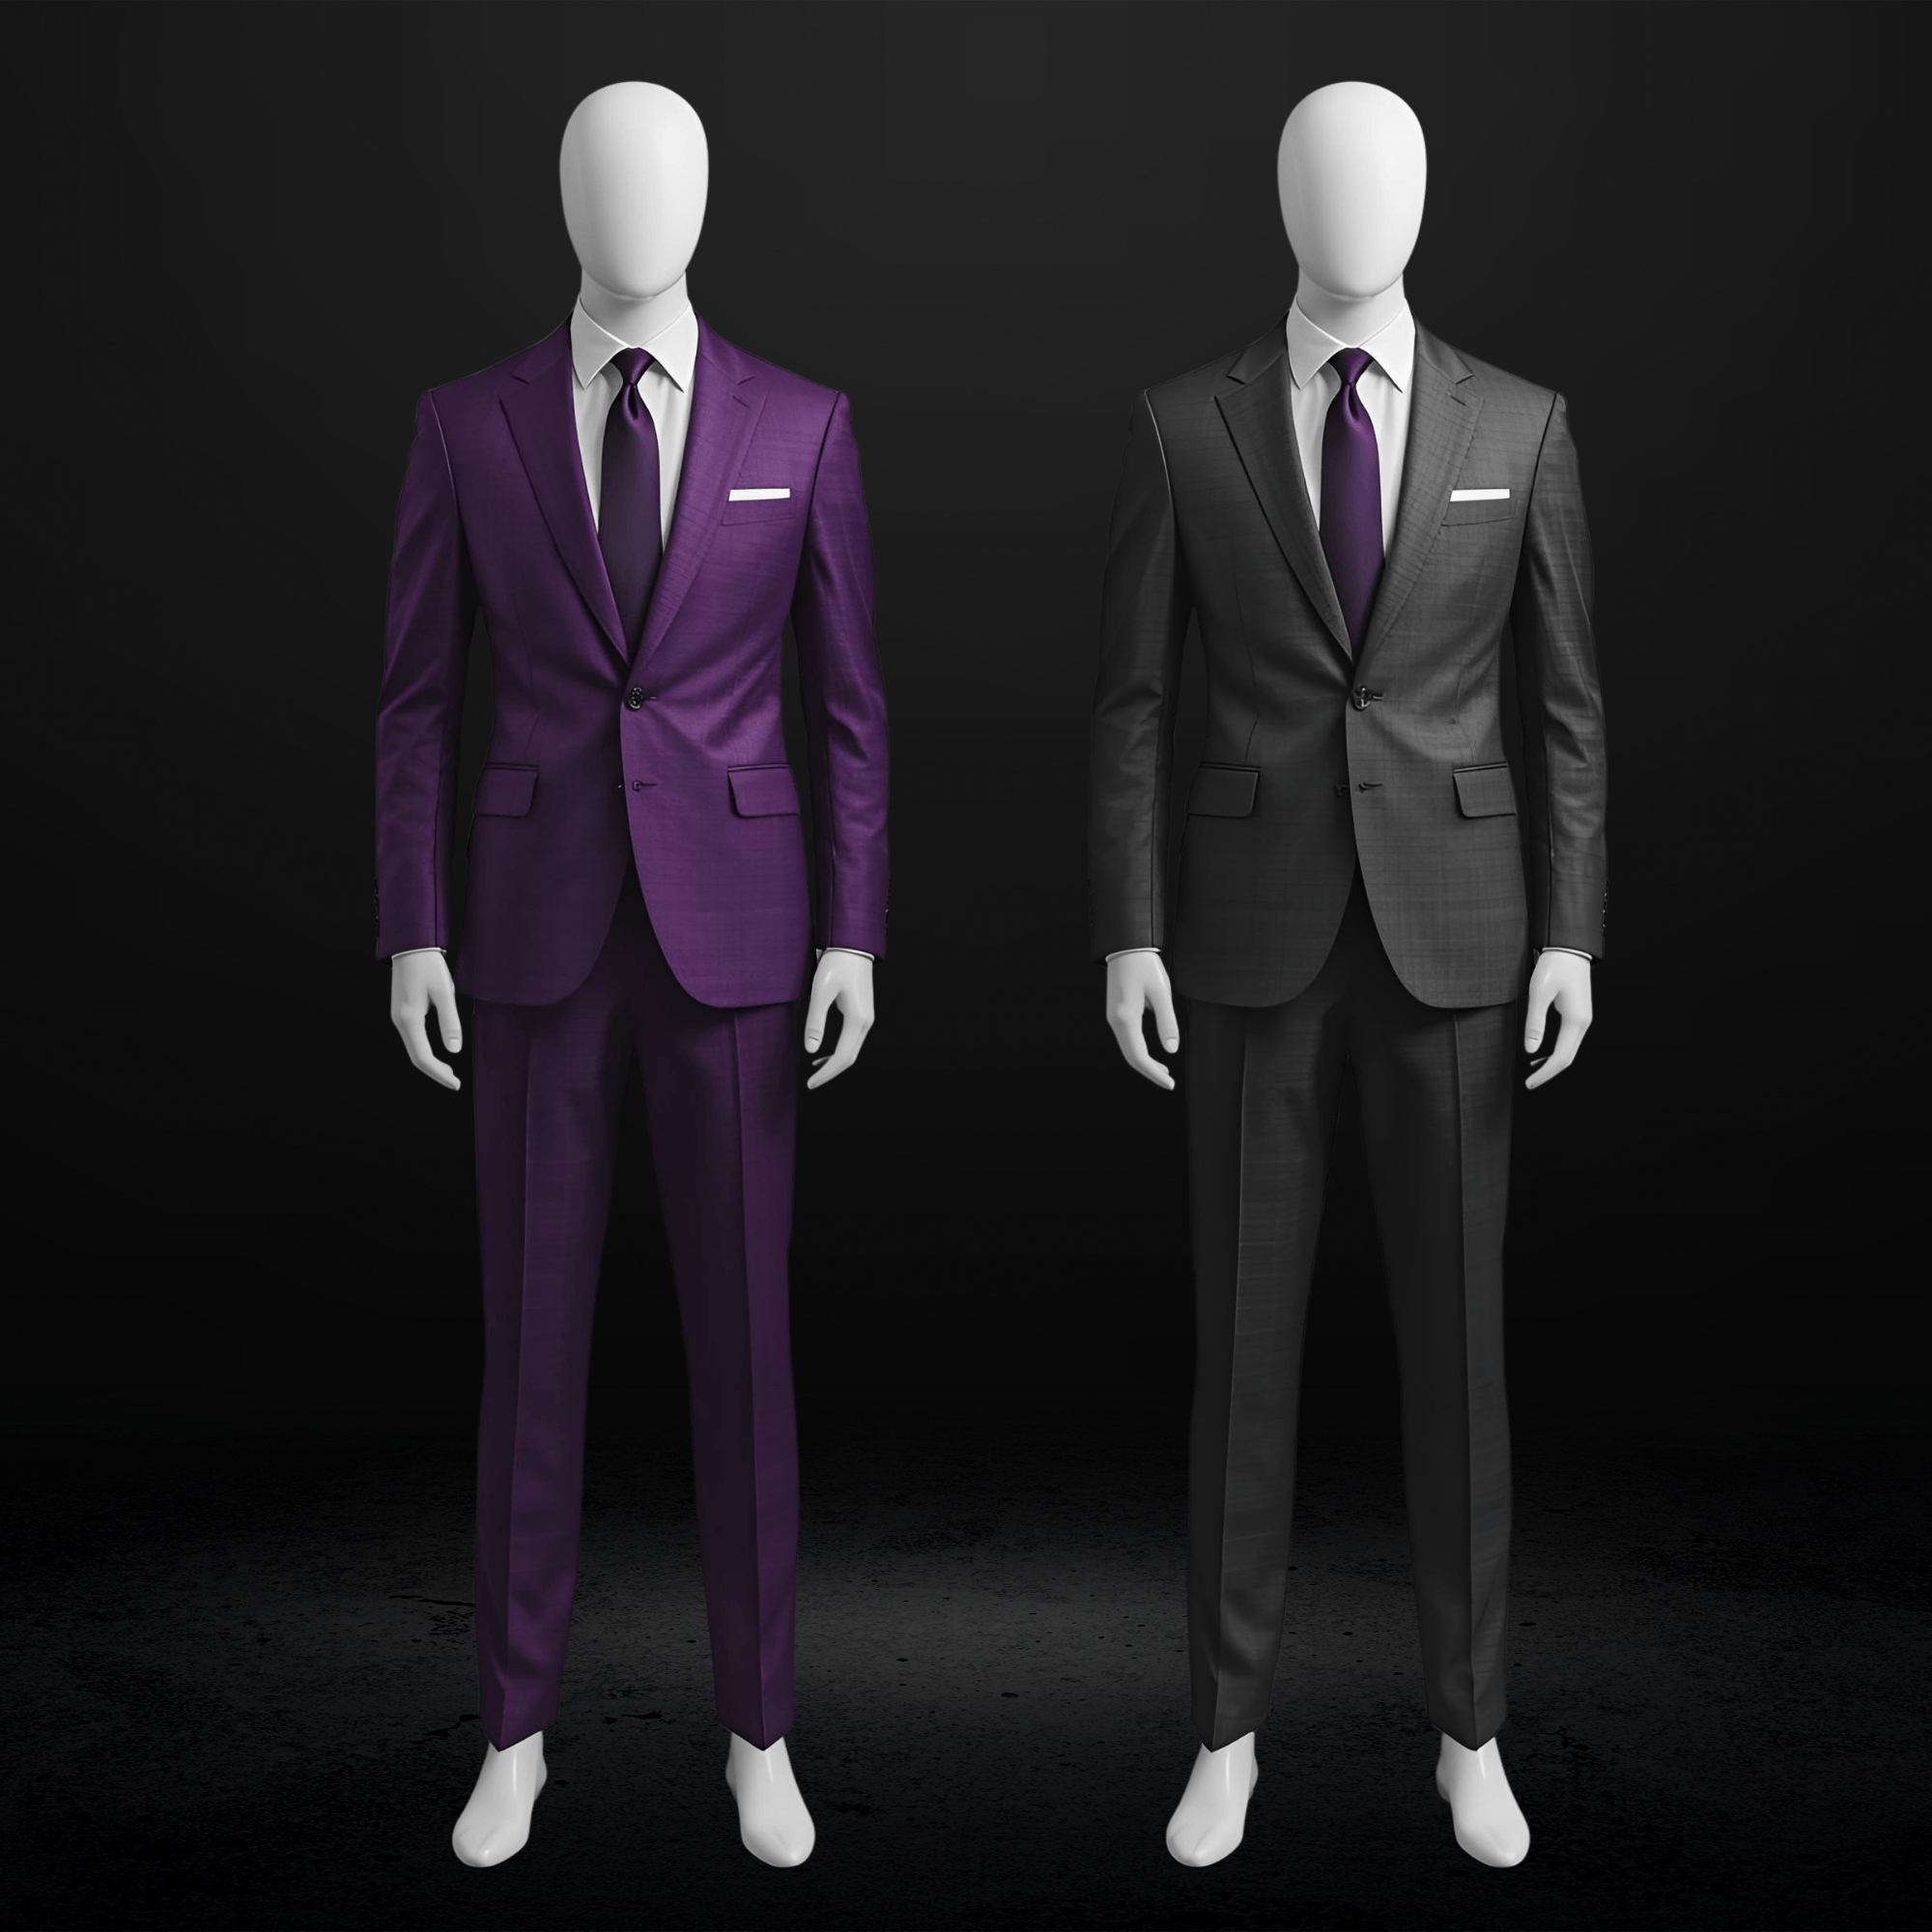

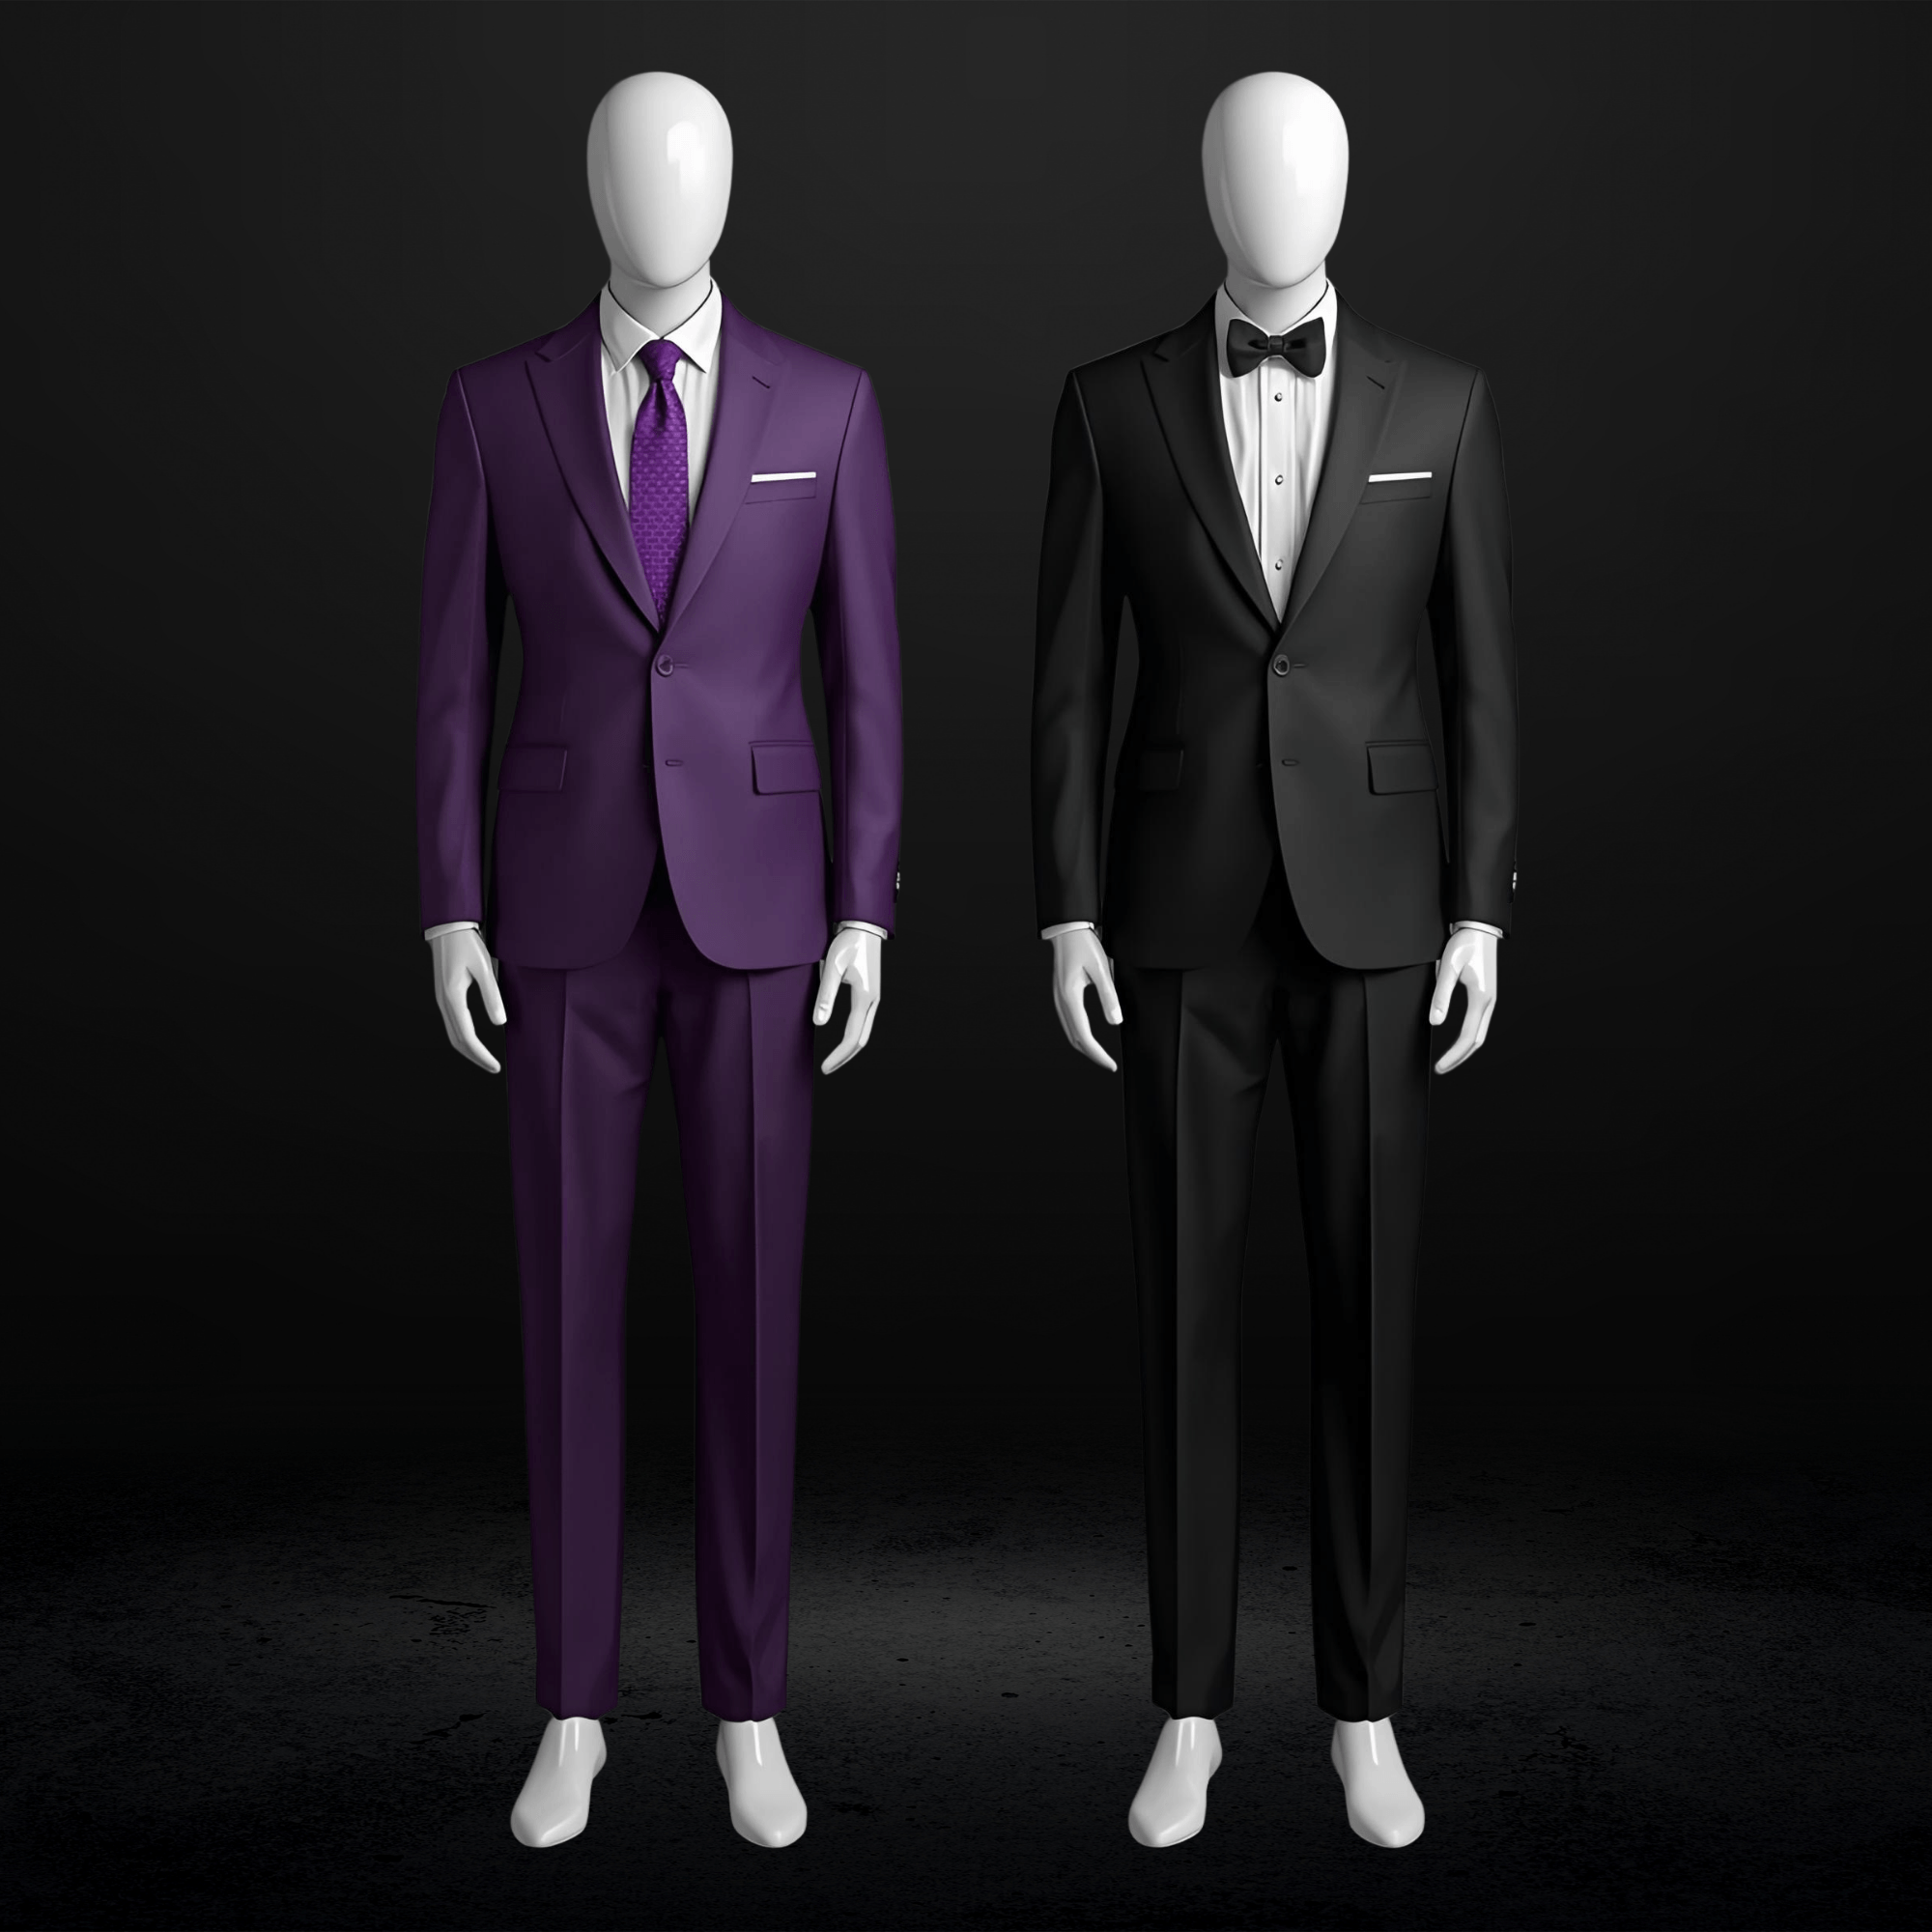
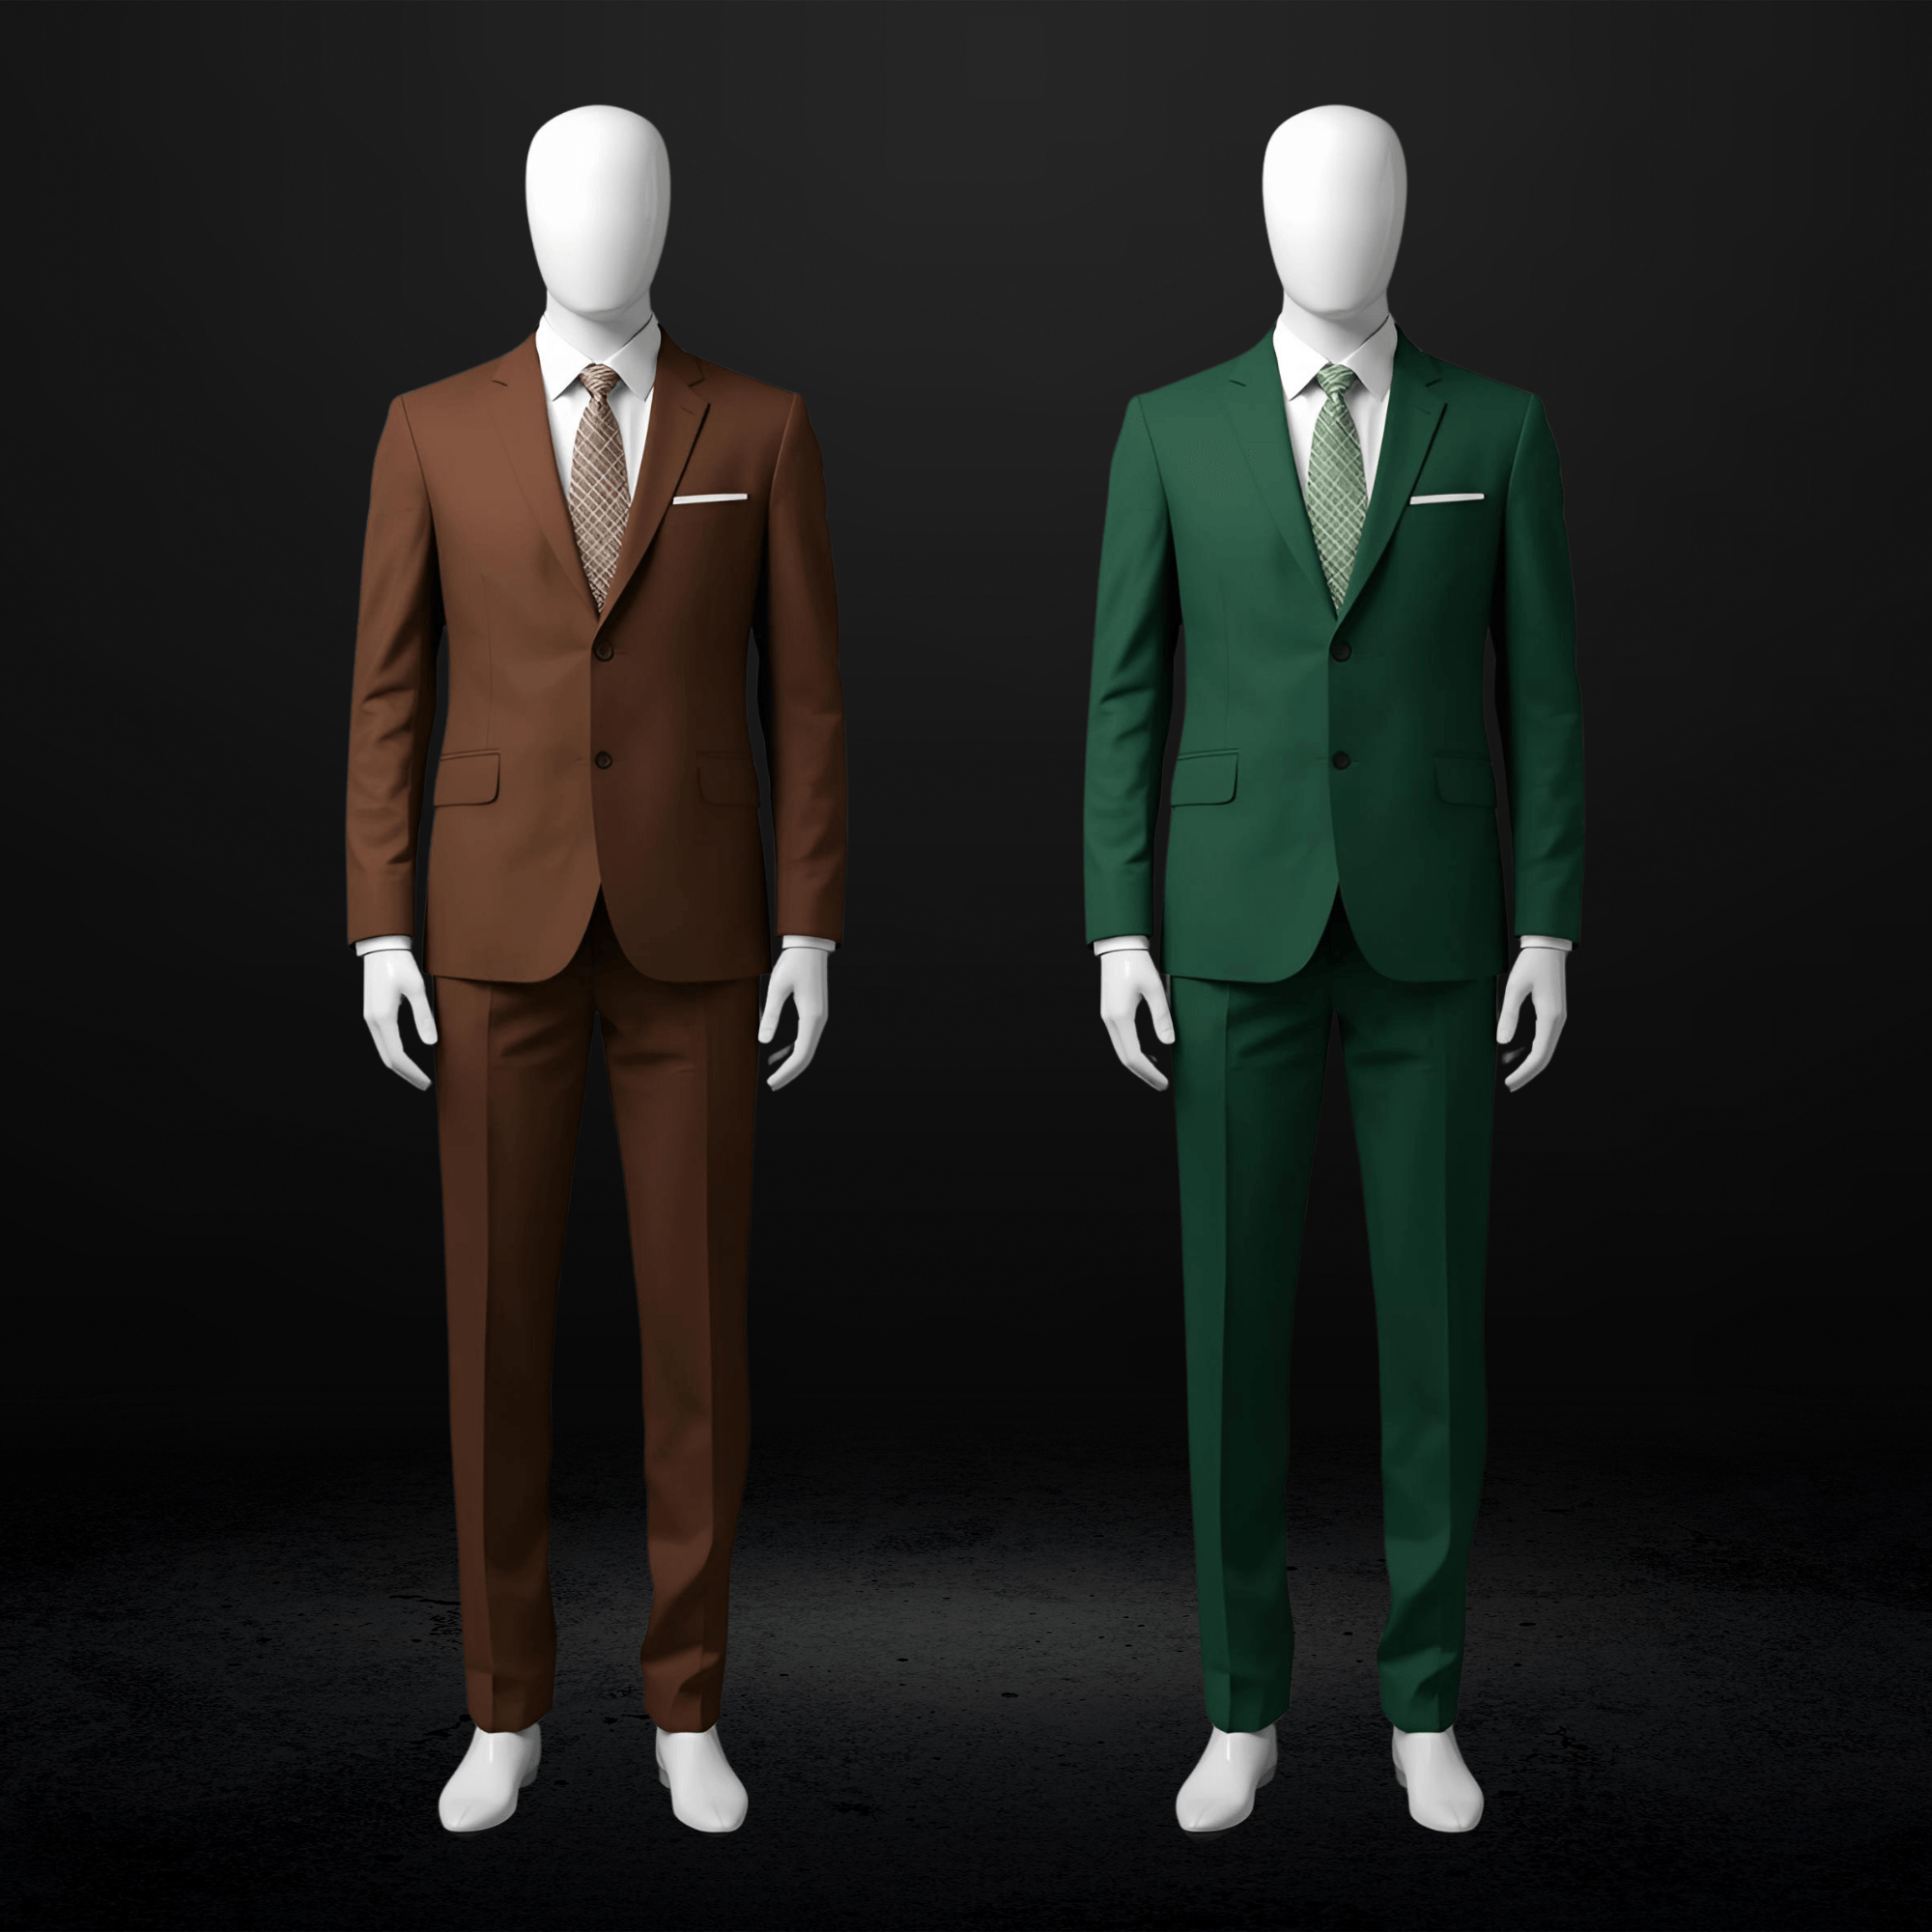

The difference between a suit that looks expensive and a suit that looks right has nothing to do with price. It comes down to fit. And fit is not a feeling. It is a series of specific, measurable checkpoints across every zone of the garment, from the shoulder seam to the trouser hem. This guide breaks down every zone of a perfect suit fit, shows you exactly what to look for, and explains which problems can be fixed by alteration and which ones require getting it right from the start.
TLDR: Every zone of a suit has specific, measurable benchmarks for correct fit, not just “it should feel comfortable.” Some zones (sleeves, trouser hem, waist) can be altered easily. The most important zones (shoulders, collar, chest structure) often cannot be meaningfully fixed after construction. Custom made-to-measure suits solve the zones that alteration cannot fix by building the correct fit into the pattern from the start.
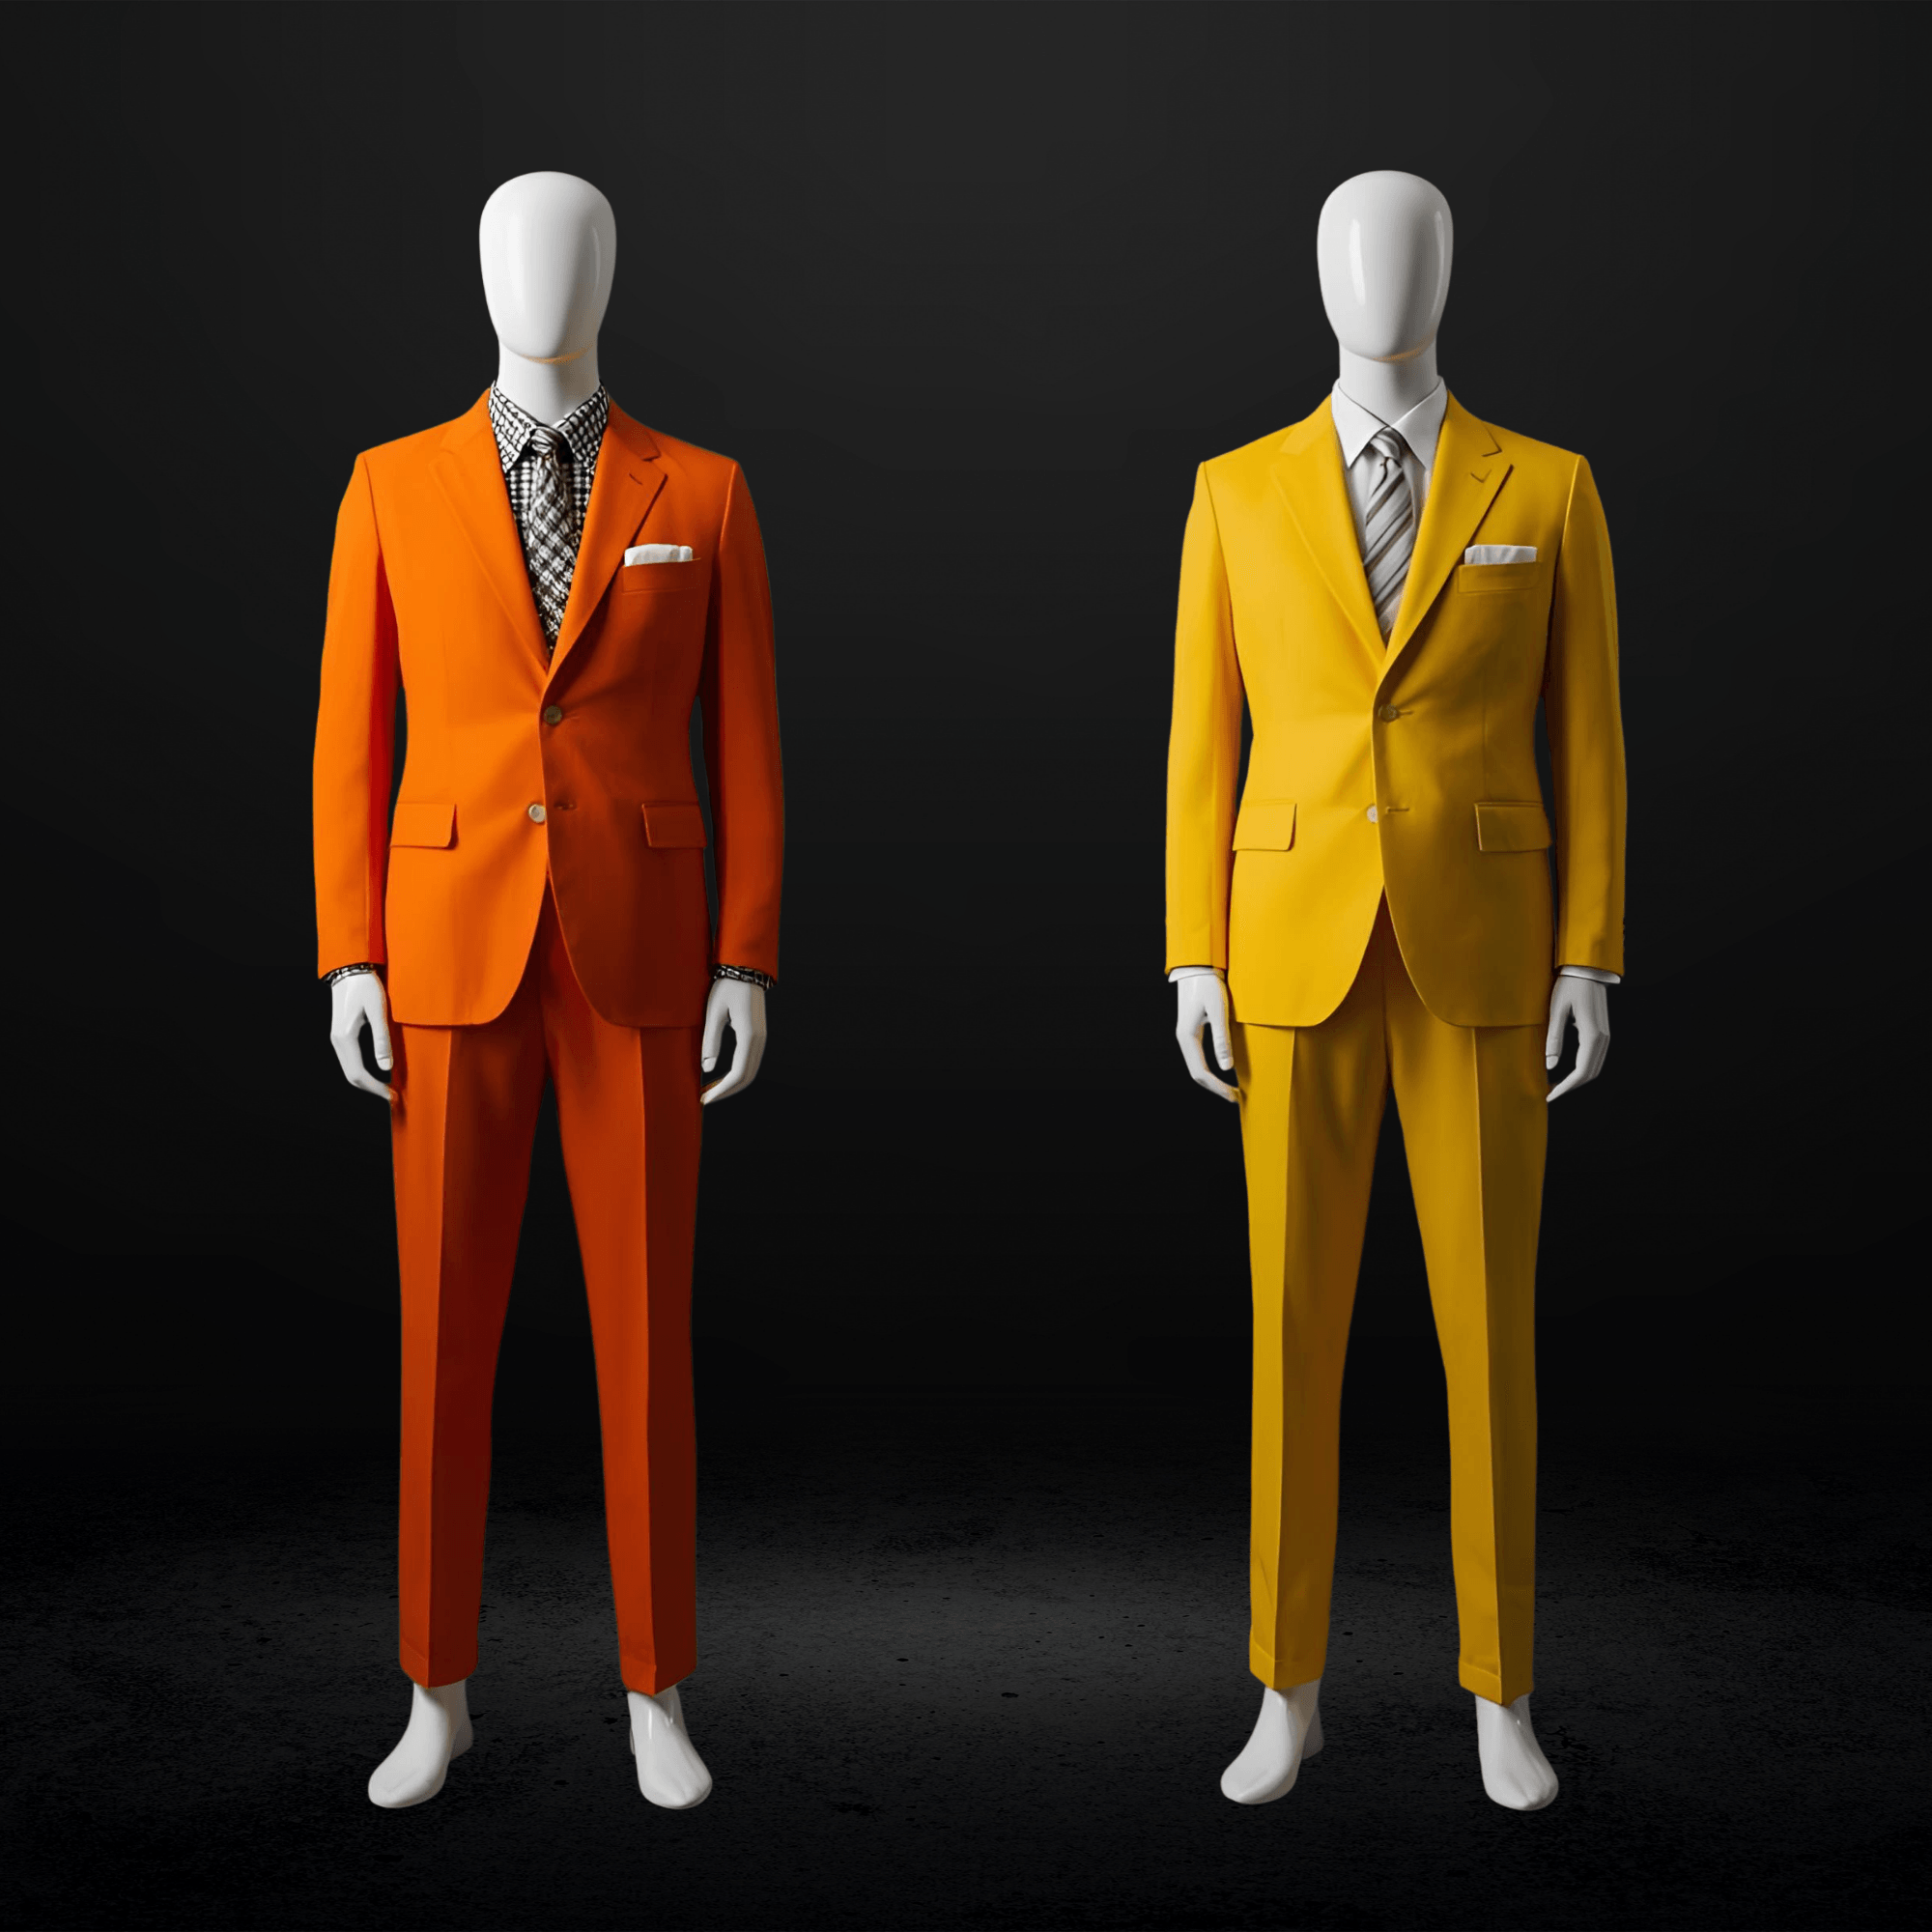
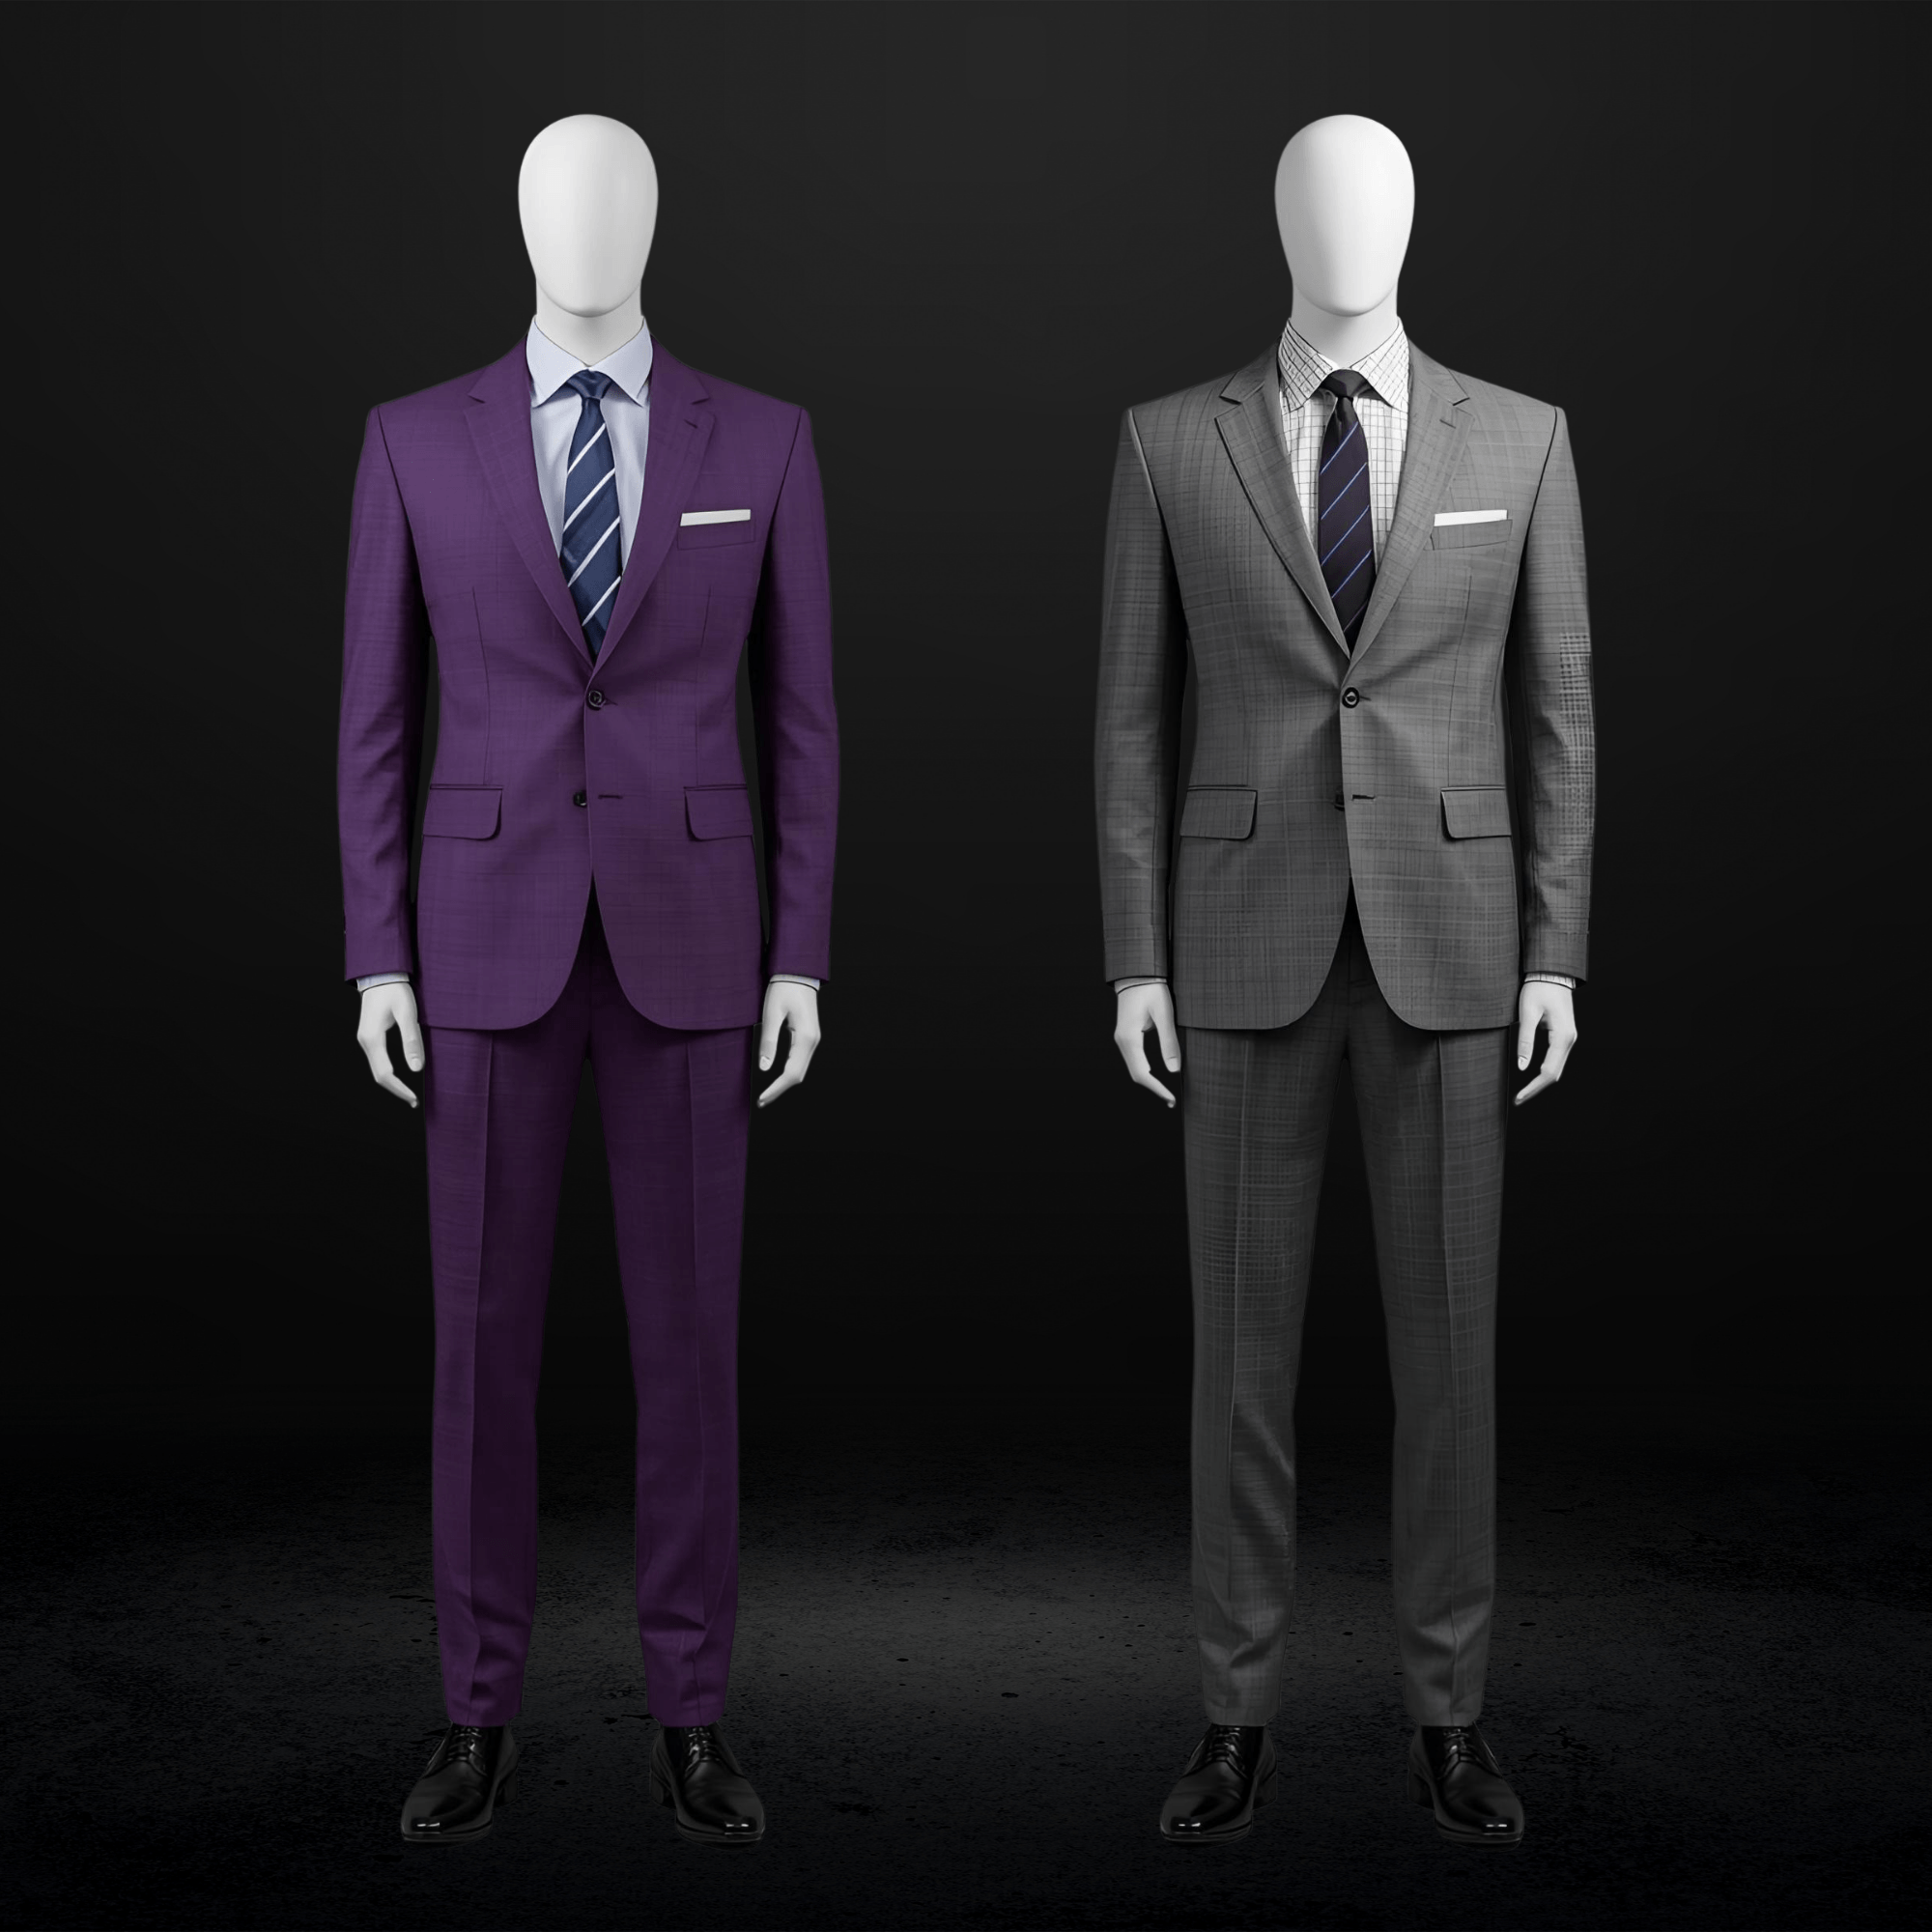
The $2,000 Suit That Looks Like a $200 Suit
A man walks into a department store and buys an expensive suit. The fabric is excellent. The color is right. But something looks wrong, and he cannot quite articulate what it is. The shoulders extend slightly past his natural shoulder line. The sleeves show too much shirt cuff on one arm and not enough on the other. The jacket pulls slightly at the button when he moves. The suit cost more than it should have, and it still does not fit.
This is not unusual. Industry estimates suggest over 70% of men are wearing suits that do not fit their bodies correctly. A separate survey of 2,000 men found that the average man owns three suits, and two of them no longer fit. More than half of the men surveyed said they experience stress when a suit they planned to wear to a formal event no longer works.
The reason is simple: price does not determine fit. Off-the-rack suits are built to statistical body averages. Most real bodies deviate from those averages in at least one dimension. The result is a suit that might feel fine on the hanger but looks subtly wrong on the person wearing it.
This guide gives you the tools to evaluate what correct fit actually looks like. Zone by zone. With specific measurements, not vague advice.
Why Fit Matters More Than Price
Research consistently shows that a well-fitted suit changes how others perceive the wearer and how the wearer performs. Studies on formal clothing and cognitive performance have found that wearing well-fitted business attire increases abstract thinking, the kind associated with leadership and long-term strategy. Separate research found that men in well-fitted suits were rated significantly higher on confidence, perceived success, and estimated salary in assessments made in just three seconds.
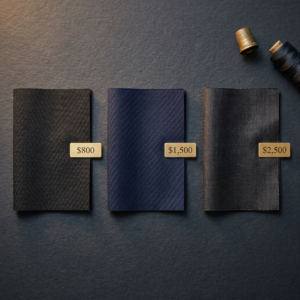
The practical point: a $1,200 suit that fits correctly will outperform a $3,000 suit that does not. Fit is the single biggest factor in how a suit looks and how it makes you feel. Everything else, fabric, color, style, matters less if the fit is wrong.
How to Evaluate a Suit Fit: Zone by Zone
A suit fit is not a single judgment. It is a sequence of checks across six distinct zones. If you know what each zone should look like, you can evaluate any suit in about two minutes. Start at the top and work down.
The Shoulders: The Foundation of Everything
The shoulder is the single most critical zone. Every other element of fit flows from the shoulder: how the chest drapes, where the sleeves hang, how the collar sits. When the shoulder is wrong, nothing else can be fully corrected.
What correct looks like: The shoulder seam (where the sleeve meets the jacket body) must fall precisely at the point where your natural shoulder bone ends and your arm begins. This is called “point-to-point” fit. The fabric should lie flat against the shoulder without divots, dimples, puckering, or raised areas. If you lean against a wall, the jacket shoulder and your natural shoulder should touch the wall at the same time.
What wrong looks like: When the shoulder seam extends past the shoulder bone, the jacket “sags” beyond the shoulder line, creating a droopy appearance. When the seam sits inside the natural shoulder line, the fabric pulls and creates a divot or “bite” at the outer back of the sleeve head, restricting movement. A third problem, incorrect sleeve pitch (the angle at which the sleeve attaches), causes diagonal pulling wrinkles from the armhole regardless of how the chest and waist fit.
Can it be fixed? Very limited. Minor adjustments of half an inch or less may be possible on some jackets. Significant shoulder correction requires essentially rebuilding the garment. For anyone with non-standard shoulder slope, asymmetric shoulders, or unusual posture, the shoulder must be right from the start. This is the strongest single argument for made-to-measure construction.
The Chest and Torso: Room Without Bulk
What correct looks like: The front of the jacket should close smoothly with no pulling when buttoned. You should be able to slide a flat hand inside the jacket, but not enough room to form loose folds of fabric. Some tailors use the “fist check”: when buttoned, you should be able to fit roughly one fist between your body and the jacket. The lapels should lie flat against the chest. The jacket should show a subtle hourglass shape when buttoned, slightly wider at the chest, taken in at the waist, with no boxy rectangularity.
What wrong looks like: The most visible sign of a too-tight chest is the “X pull,” where diagonal stress lines form an X shape from the button point toward the lapels. This is especially common with modern slim-cut off-the-rack suits on athletic builds. If the lapels bow outward, the chest is too tight. If they hang away from the body in a U-shape, the jacket is too large overall.
Can it be fixed? The waist can be taken in or let out relatively easily. The chest is more limited. Off-the-rack jackets typically have about 2 centimeters of seam allowance available for letting out, and a tailor can shift front buttons by 1/4 to 1/2 inch for minor relief. Beyond that, the jacket’s structure limits what is possible.
The Collar: The Overlooked Signal
What correct looks like: The jacket collar should sit flush against the shirt collar with no gap and no bunching. About 1/2 inch of shirt collar should be visible above the jacket collar at the back of the neck. From a side profile, the jacket collar should follow the natural line from the neck down to the shoulders without pulling away from the body.
What wrong looks like: A collar gap is the space between the back of the jacket collar and the shirt collar. It is one of the most common suit fit problems and one of the most visible, noticeable in profile, in photos, and from a distance. The most common causes are poor shoulder fit, a mismatch between the jacket’s pattern and the wearer’s natural posture, stiff interlining, or a jacket that is too large in the upper back.
Can it be fixed? Sometimes. If the collar gap is less than about 1 inch, a skilled tailor may correct it by removing a wedge of fabric from the center back seam and resetting the collar. If the gap is larger, or if it stems from a structural mismatch between the wearer’s posture and the jacket’s pattern, it generally cannot be corrected without rebuilding the back of the jacket.
Jacket Sleeves: The Detail That Signals Everything
Sleeve length is among the most visible elements of suit fit. It shows in every seated conversation, every handshake, every photograph.
What correct looks like: The jacket sleeve should end just above the wrist bone. When wearing a dress shirt under the jacket with arms hanging naturally at the sides, 1/4 to 1/2 inch of shirt cuff should be visible beyond the jacket sleeve. The 1/2 inch mark is the classic standard; 1/4 inch is a slightly more modern, conservative option. Anything over 1 inch of visible shirt cuff is too much. No visible cuff at all means the jacket sleeve is too long.
A note on shirt cuffs: French cuff shirts (with fold-back cuffs and cufflinks) extend to the root of the thumb, which typically shows slightly more cuff than a barrel cuff shirt in the same jacket. If you wear French cuffs regularly, mention this to your tailor so sleeve length accounts for the difference.
Can it be fixed? Yes. Sleeve shortening is the single most common suit jacket alteration, and one of the most affordable. One exception: if the jacket has “working buttonholes” (also called surgeon’s cuffs, where the sleeve buttons actually function), the adjustment must come from the sleeve head rather than the bottom. This is more complex, more expensive, and limits how much can be changed.
Jacket Length: Covering the Proportions
What correct looks like: Multiple benchmarks converge on the same standard. The classic “rule of thumb”: the jacket hem should just graze the lower knuckle of the thumb when arms hang naturally at the sides. The “seat rule”: the jacket should cover the seat entirely but not hang below it. From the rear, any jacket that drops below the bottom of the seat looks dated.
Style variation matters here. A classic business cut falls just past the seat. A modern slim cut may end right at the seat for a slightly shorter, more contemporary silhouette. A cropped or fashion-forward cut ends well above the seat and is generally not appropriate for professional or formal contexts.
Can it be fixed? A jacket can be shortened up to about 2 inches before pocket placement and overall proportions are affected. Lengthening a jacket is generally not possible unless extra fabric was intentionally left at the hem during construction, which is uncommon in off-the-rack garments.
Suit Trousers: Waist, Seat, Thigh, and Break
Waist: The trouser waist should hold comfortably without a belt but never pinch when sitting. One to two fingers should slide into the waistband with moderate effort. A waist that is too tight causes pulling in the seat and thigh. A waist that is too loose creates bagginess throughout.
Seat and hips: The seat should not pull tightly across the muscles (visible horizontal pulling lines signal a problem). Pocket openings should lie flat. If the pocket edges bow outward, commonly called “pocket bowing,” the hips are too tight. You should be able to pinch about half an inch of fabric on each side of the hip.
Thigh: There should be enough room for comfortable movement without visible pulling wrinkles from the crotch, but not so much fabric that it bunches or bags around the leg.
Trouser break: The “break” is where the front hem of the trouser leg meets the shoe. It affects both proportion and the overall modernity of the silhouette. There are four recognized break styles.
| Break Style | Description | Best For |
|---|---|---|
| No break | Hem just kisses the top of the shoe or sits slightly above. No fabric folds. | Modern fits, slim trousers, sleek footwear |
| Quarter break | A small, barely visible fold at the front of the hem. Clean and sharp. | Business-casual, slim to straight-leg trousers |
| Half break | Fabric just touches the top of the shoe, creating a slight crease at the front. | The most versatile option; works in business formal and semi-formal settings |
| Full break | Fabric folds generously over the shoe, creating a visible crease front and back. | Traditional or classic tailoring with wide-leg trousers only |
The half break is the most universally recommended option for professional contexts. It is modern enough without appearing trendy. The full break only works on wider-legged trousers. On slim trousers, a full break creates a messy pile of fabric on the shoe rather than a clean drape.
Can trousers be fixed? Trouser hemming is the most universally necessary alteration and among the cheapest. Waist adjustments of 1 to 2 inches are straightforward. Seat and thigh adjustments depend on available seam allowance. When choosing between two trouser lengths, always take the longer option. It is far easier to shorten a hem than to add length.
The Alteration Ceiling: What Can Be Fixed and What Cannot
This is the most important concept in understanding suit fit. Not all fit problems are equal. Some zones are easy to fix. Others are expensive or outright impossible.
| Fit Zone | Alterable? | Notes |
|---|---|---|
| Shoulders | Very limited | Most critical zone; rebuilding essentially means a new garment |
| Collar/posture gap | Sometimes | If under about 1 inch; larger gaps generally not repairable |
| Chest | Limited | Up to about 2cm let-out if seam allowance exists |
| Jacket waist | Yes | Relatively easy; one of the most common alterations |
| Sleeve length | Yes | Most common jacket alteration; working cuffs add cost |
| Jacket length | Somewhat | Shortening up to about 2 inches; lengthening rarely possible |
| Trouser waist | Yes | Easy; 1 to 2 inches typically available |
| Trouser seat/thigh | Yes (limited) | Depends on seam allowance left during construction |
| Trouser hem/break | Yes | Easiest and cheapest alteration; always take the longer option |
The pattern is clear. The zones at the top of the table, the ones that matter most to how a suit looks, are the hardest to fix. The zones at the bottom are the easiest. This is the fundamental limit of the off-the-rack model: you can alter sleeves and hems easily, but you cannot alter the structural foundation of the garment.
Not sure how your current suits measure up across these zones? The Suit Doctor offers fit consultations across Kansas City to help you identify what can be fixed and what might need a fresh start. If you have noticed fit problems on your current suits, our guide to common suit fit problems and how to fix them is a useful next step.
How a Made-to-Measure Suit Addresses Every Zone
The alteration ceiling table above makes the case naturally: the zones that matter most are the hardest to fix after construction. Made-to-measure suits address every zone before the first stitch.
A professional mobile tailor takes 18 to 30+ individual measurements per person. These go far beyond the standard chest, waist, and inseam that department stores use. They capture shoulder slope and asymmetry (one shoulder higher than the other is more common than most men realize), natural posture (forward lean, erect, or neutral), arm length and pitch (the angle at which the arm hangs naturally), torso and back length separately, and the chest-to-waist ratio that determines how much the jacket tapers.
When these measurements are built into the pattern from the start, the zones that cannot be altered off-the-rack are simply not a problem. The suit is constructed for this specific body, not for a statistical average.
The Suit Doctor brings this entire process directly to your location through mobile fitting services across Kansas City. Every measurement is taken by the same professional, at your home or office, with the suit constructed to your exact specifications.
Ready to experience a suit built for your exact measurements? Schedule a Kansas City consultation with The Suit Doctor at a time and location that works for you.
Common Suit Fit Questions
Q: What is the most important part of a suit fit to get right?
The shoulders. Every other element of fit flows from the shoulder, and the shoulder cannot be meaningfully altered after construction. Sleeves can be shortened. Trousers can be hemmed. The waist can be taken in. But the shoulder has to be right from the start.
Q: How do I know if my suit jacket is too tight?
Look for an X-shaped pulling pattern from the button point toward the lapels when the jacket is buttoned. If the lapels bow outward rather than lying flat against your shirt, the chest is too tight. You should be able to slide a flat hand inside the buttoned jacket without straining the fabric.
Q: How much shirt cuff should show from my jacket sleeve?
Between 1/4 and 1/2 inch. Less than 1/4 inch suggests the jacket sleeve is too long. More than 1 inch suggests it is too short. French cuff shirts will naturally show slightly more cuff than barrel cuff shirts in the same jacket.
Q: What trouser break should I choose?
For most professional settings, the half break is the most versatile and universally appropriate option. It creates a slight crease at the front of the hem where it meets the shoe. No break works well with slim trousers for a more contemporary look. Full break requires wide-leg trousers to drape cleanly and looks sloppy on slim-cut pants.
Q: Can a tailor fix a collar gap?
Sometimes. If the gap between the jacket collar and shirt collar is less than about 1 inch, a skilled tailor may correct it by removing a wedge from the center back seam and resetting the collar. Larger gaps, or gaps caused by a fundamental mismatch between your posture and the jacket’s pattern, generally cannot be fixed.
Q: What is the correct jacket length?
The jacket hem should fall at approximately the lower knuckle of the thumb when your arms hang naturally at your sides. From the rear, the jacket should cover the seat fully but not hang below it.
Q: My suit was expensive but it looks wrong. What is happening?
Price does not determine fit. Off-the-rack suits are built to statistical body averages. If your body deviates from those averages in the shoulder, posture, or chest-to-waist ratio, even an expensive suit will look incorrect. The solution is either targeted alterations for zones that can be fixed, or a made-to-measure suit for zones that cannot.
Q: How many measurements does a proper made-to-measure suit require?
A professional mobile tailor typically takes 18 to 30 or more individual measurements. These go far beyond the chest, waist, and inseam that most off-the-rack sizing captures. They account for posture, shoulder asymmetry, arm pitch, and torso proportions, which is why made-to-measure suits fit zones that off-the-rack construction cannot address.
Key Takeaways
Shoulders come first. The shoulder seam must fall at the point where the shoulder bone ends. This zone cannot be meaningfully altered, so it must be right from the start.
Chest and lapels tell the truth. An X-shaped pull from the button means too tight. Bowing lapels confirm it. A flat hand should slide inside the buttoned jacket without straining the fabric.
Collar gaps are more than cosmetic. A gap between the jacket collar and shirt collar signals a structural problem, usually in the shoulder or posture match. Small gaps (under 1 inch) may be fixable. Larger ones generally are not.
Sleeves follow the 1/4 to 1/2 inch rule. That much shirt cuff should show below the jacket sleeve. This is the most visible fit detail in handshakes, photos, and seated meetings.
Jacket length hits the thumb knuckle. Arms relaxed at the sides, the hem should graze the lower knuckle. The jacket should cover the seat from the rear.
The half break is the safest trouser choice. A slight fold at the front hem where it meets the shoe. Modern, versatile, and appropriate for nearly every professional context.
The alteration ceiling matters. Sleeves, trouser hems, and waist adjustments are easy. Shoulders, collar gaps, and chest structure are not. The zones that matter most are the hardest to fix after the fact, which is the core advantage of made-to-measure construction.
Ready to Get Your Fit Right?
You now know exactly what correct fit looks like across every zone of a suit, from the shoulder seam down to the trouser break. You also know which zones can be adjusted by a tailor and which ones need to be built correctly from the start.
The Suit Doctor specializes in made-to-measure suits that address every zone before construction begins. Here is what that process includes:
18 to 30+ precise body measurements taken at your location. Shoulder slope, posture, and asymmetry assessed in person. Fabric and style selected with expert guidance. A suit constructed to your exact specifications and delivered to you across the Kansas City area.
For the professional who understands that fit is the foundation of how a suit performs, this is how it should be done. Go to the contact page to schedule your consultation.
The Suit Doctor | Custom and Made-to-Measure Suits for Men Who Take Their Look Seriously.